Learn to create fabulous polymer clay earrings at home with this easy how-to guide.
Key takeaways:
- Choose oven-bake polymer clay for durability.
- Condition clay for malleability and smoothness.
- Use cookie cutters for consistent earring shapes.
- Bake according to package instructions; timing is crucial.
- Attach earring posts with strong glue for stability.
Choosing the Right Polymer Clay and Tools
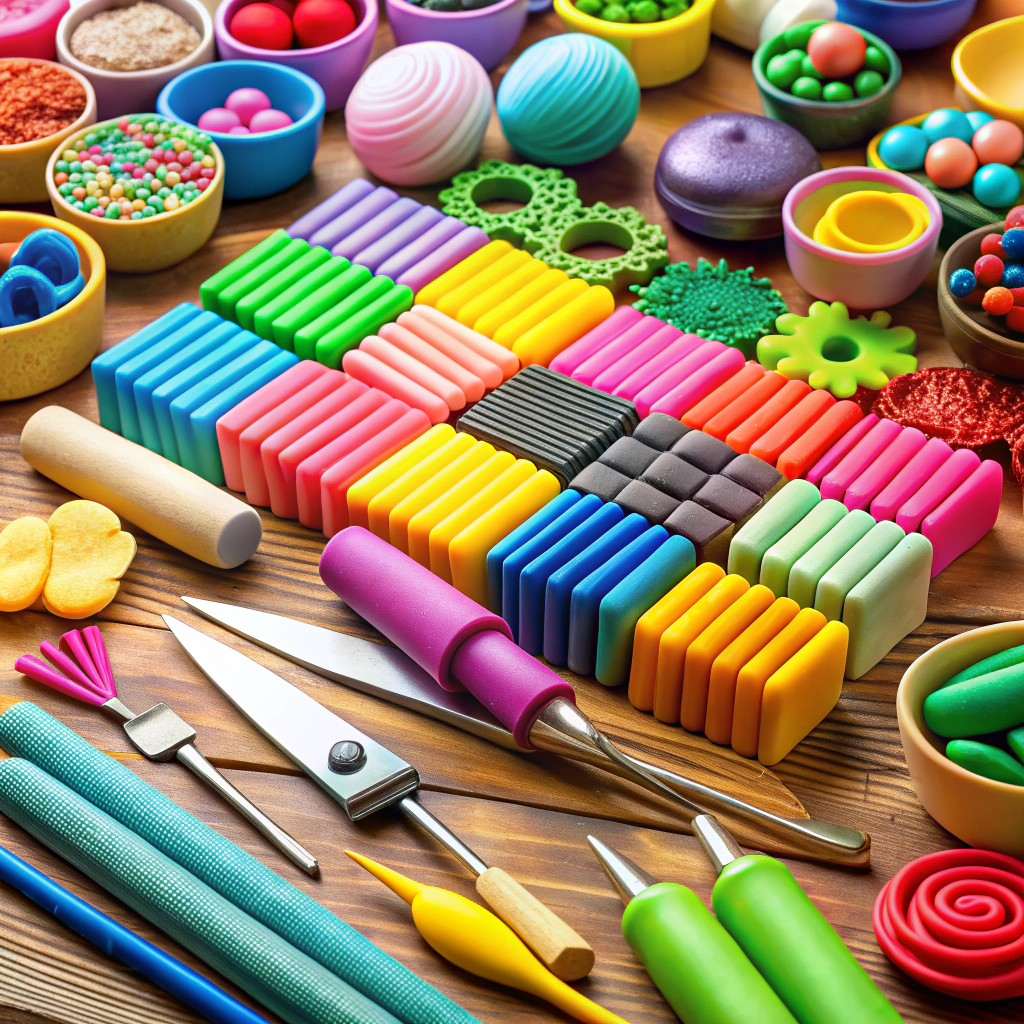
Polymer clay is like a box of chocolates—so many colors, so many possibilities, but without the sticky fingers. Choose oven-bake clay for durability. Air-dry clay might seem tempting, but your earrings will wave goodbye with the first whiff of water.
Sculpey and Fimo are the VIPs in the world of polymer clay. Sculpey is softer and more malleable, ideal for beginners. Fimo, on the other hand, is the Hulk in the clay family—tougher but perfect for intricate details.
Gather your tools: a rolling pin or pasta machine for even thinness, cookie cutters of delightful shapes for consistency, and a needle or toothpick for making holes. Basic tools you might use on a pizza, but trust me, they won’t taste quite as good.
Preparing and Conditioning the Clay
First things first, imagine waking up after a nap. Your muscles need a little stretch, right? So does polymer clay! Knead it in your hands to make it pliable and smooth. This magic move is called conditioning. It prevents cracks and helps colors blend beautifully, like a sunset gradient but on a smaller scale.
To avoid a sticky situation, clean your workspace and tools. Dust bunnies and lint are not invited. Dust may be great at parties, but it has no place here.
Consider the temperature of your workspace. Polymer clay prefers cool, dry places—like a diva with a strict rider. Keeping it chill makes it easier to mold and less likely to become an abstract art piece.
Looking for fancy color effects? Mix different shades of clay. It’s like creating a rainbow without the need for torrential rain and sunlight. Just don’t eat it—it won’t taste like Skittles.
Prepare, condition, and you’re on your way to creating ear-resistible magic!
Shaping, Cutting, and Designing the Earrings
Now comes the fun part. Time to unleash your inner Picasso, or at least your inner kindergarten art class champion. Start by rolling the conditioned clay into a smooth slab. Think of it as a little Fabergé egg of creativity waiting to hatch.
Use cookie cutters or a blade to cut out shapes. A hint: it’s best not to freestyle if you’re looking for matching earrings. Unless, of course, you’re aiming for a “close enough is good enough” signature look.
Experiment with texture by pressing household items into the clay. Lace for an elegant touch, or let’s be honest, a fork for an impressionist yet practical tool.
Blend colors by gently marbling different clays together. But beware, mix too enthusiastically, and you might end up with a shade that’s more “what was I thinking?” than “masterpiece.”
Designs can also be painted on after baking if you’d rather trust your brush skills. Remember, no masterpieces were born without a few happy accidents—just ask any basement artist.
Baking and Cooling the Polymer Clay
Place your crafted creations on a baking sheet lined with parchment paper. This prevents any unwanted clay-versus-metal sticking battles. Remember, it’s America’s Next Top Earrings, not sumo wrestling.
Preheat your oven to the specific temperature listed on the clay package. Trust the package, not your gut. Different clays have different personalities and prefer varied heat levels.
Once the clay is snug in the oven, set a timer. Overbaking is not a spa treatment for clay—it can darken or even burn it. Follow the recommended baking time like a Netflix queue on a stormy day.
Take them out gently, like they’re VIPs leaving a fancy car. Let them cool on the sheet—these beauties need some alone time.
Finally, resist the urge to touch. Cooling takes patience, but unlike a soufflé, they won’t deflate—just become fab earrings ready for your lobes.
Attaching Earring Posts and Finishings
You’ve baked your little masterpieces and now they need a sturdy foundation to dangle from your ears. Here’s the scoop.
First, grab some earring posts, the unassuming heroes of this story.
Next, you’ll need some glue. But not just any glue—choose the kind that can hold your earrings together even if you decide to test them with your best dance moves.
Line the back of each earring with a dab of glue and attach the earring post, making sure they’re centered. Nobody wants floppy earrings.
For added security, press the post gently against the clay and hold it in place for a couple of minutes. Think of it as a two-minute meditation session for you and your soon-to-be earrings.
Once the glue is dry, attach the earring backs. Voila! Your clay creation is now ready to charm the world, one ear at a time.
Related Reading
 Polymer Clay Charm for Sale: A Crafty Investment Guide
 How to Frame with Steel Studs: A Guide to Stronger Walls and Happier Homes
 Steel Building Cost Estimator: Calculate Your Project Budget Accurately
 Metal Building Ventilation: A Comprehensive Guide on Proper Methods
 How to Insulate a Metal Pole Building: Simple, Effective Techniques
Recap