Yes, you can sand polymer clay by using progressively finer grits of sandpaper once it is fully cured.
Key takeaways:
- Sanding polymer clay smooths imperfections and enhances the appearance.
- Firmer clays like Premo, Fimo, and Kato respond well to sanding.
- Supplies needed for sanding include sandpapers, sponges, water, and gloves.
- Safety precautions include wearing a dust mask and working in a well-ventilated area.
- Progress through different grits for a consistent smoothness and rinse between grits.
Importance of Sanding Polymer Clay
Sanding polymer clay smooths out imperfections, creating an even surface which enhances the overall appearance of your finished piece. It also helps in removing fingerprints and smudges that can detract from the professional look of your craft.
Crucially, sanding allows for better adhesion of finishes, such as paint or glaze, by increasing the surface area for these coatings to grip onto. Furthermore, by sanding the clay through varying grits, it provides a desired level of smoothness depending on your project’s needs, from a satin finish to a high gloss.
Last but not least, a well-sanded piece is more pleasant to the touch and visually appealing, which is especially important for pieces that will be handled often, like jewelry or home décor items.
Types of Polymer Clay Suitable for Sanding
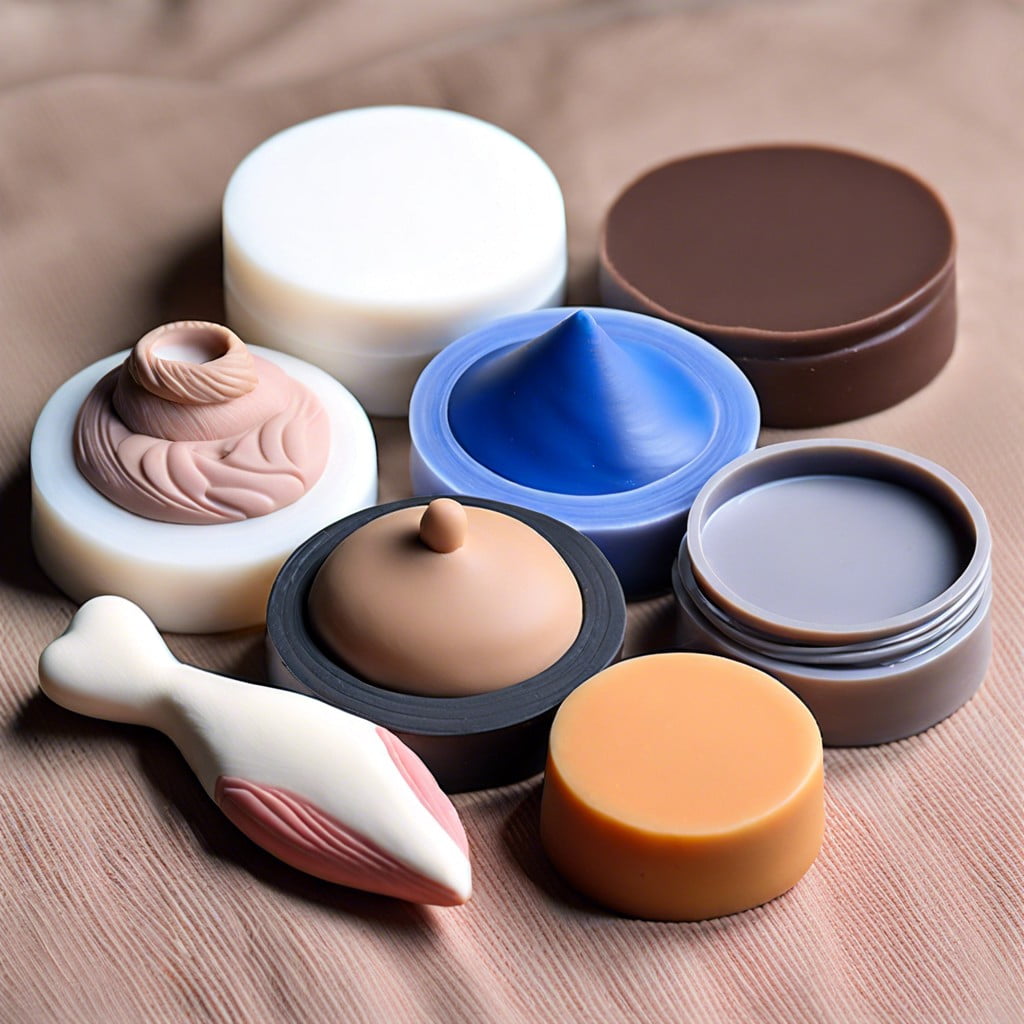
Most brands of polymer clay can be sanded. However, the best results are often achieved with firmer clays, as these maintain their shape during the sanding process. Clays that are too soft may become distorted or may not handle the abrasion as well. Premo, Fimo, and Kato are examples of firmer clays that respond well to sanding. This step refines their surface, preparing for a smooth finish after baking.
Translucent polymer clays also benefit from sanding as it enhances their clarity and reduces the appearance of flaws. Additionally, specialty clays with inclusions like glitter or mica should be sanded cautiously to avoid removing the special effects. Remember to fully cure the clay according to its specific baking instructions before beginning to sand, as underbaked clay will crumble and overbaked clay may become too brittle for effective sanding.
Supplies Needed for Sanding Polymer Clay
Having the right supplies at hand is vital for effective sanding. Start with a variety of sandpapers in different grits—coarse (around 400 grit) for initial shaping to ultra-fine (up to 2000 grit) for a smooth finish. Consider wet/dry sandpaper that can be used with water to minimize dust.
For small or intricate pieces, sanding sponges offer flexibility. A bowl of water and some towels help keep your workspace clean, while a dust mask protects your lungs from fine particles. Lastly, gloves can keep oils from your hands off the clay and maintain a nice polish.
These tools set the stage for a successful sanding process, affording precision and control over the end result.
Safety Considerations Before Starting
Before diving into your sanding project, prioritize safety. Wear a dust mask to avoid inhaling fine particles; polymer clay dust isn’t something you want in your lungs. Safety glasses are a smart choice to protect your eyes from any flying debris, especially when working with power tools. It’s also wise to work in a well-ventilated area or consider a dust extraction system to minimize airborne particles.
Keeping a clean workspace not only ensures better safety but also leads to a more enjoyable crafting experience. Remember, taking these precautions will not only protect your health but also result in a better finish on your polymer clay creations.
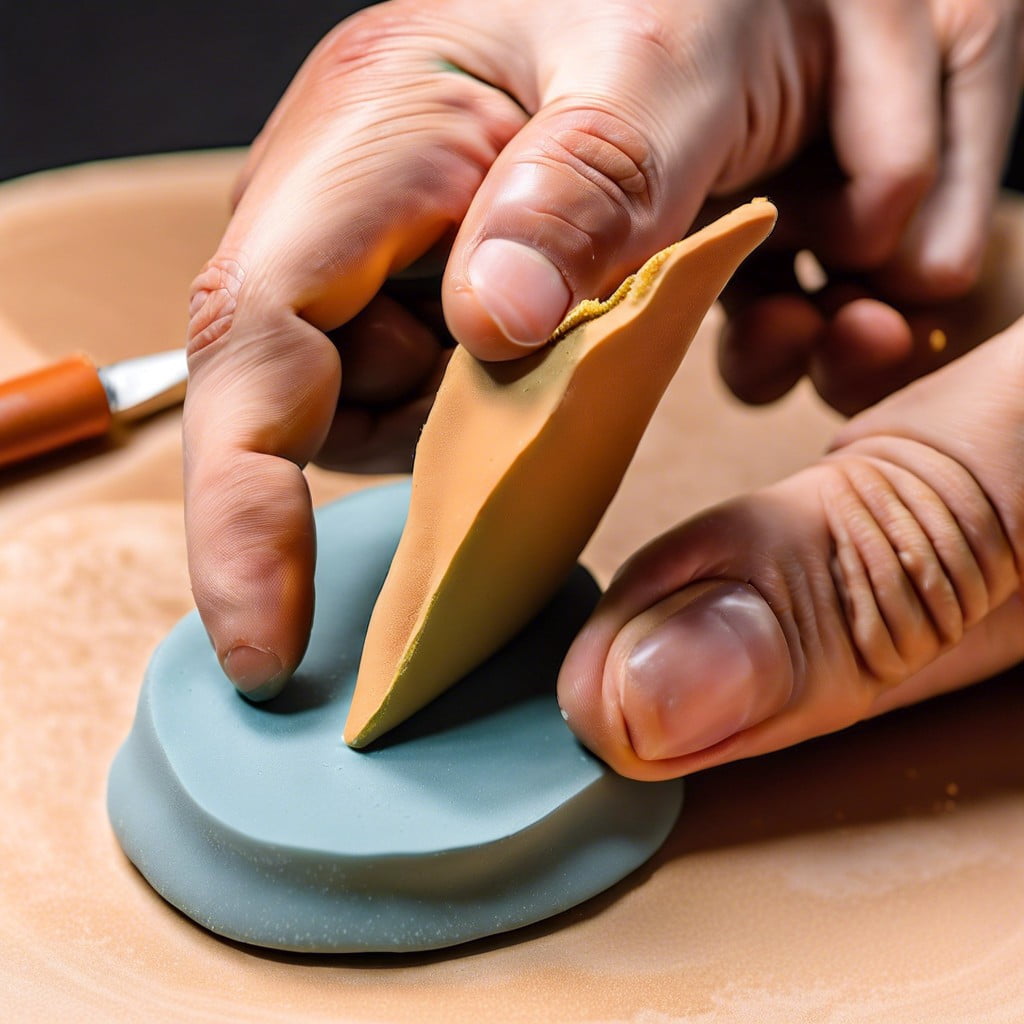
Step 1: Start With Your First Grit
Begin sanding your polymer clay piece with a low ‘coarse’ grit sandpaper, typically around 400. This initial step is about removing the most prominent imperfections, such as bumps or fingerprints, from the clay’s surface. It’s not about achieving a final, smooth finish just yet.
Apply light pressure in a circular motion, ensuring an even sanding pattern across the entire surface. Check your progress often to avoid over-sanding, which can create unwanted indentations or thin areas. As soon as the major flaws are dealt with, you’re ready to move on to the next stage of refinement.
Remember that patience is key during this phase to lay the foundation for a smooth and professional-looking end result.
Step 2: Repeat With Other Grits
After your initial sanding with the coarsest grit, it’s essential to gradually shift to finer grits. This progression helps to refine the surface and eliminate scratches from the previous, rougher grit paper.
– Progress through each grit level without skipping steps to achieve a consistent smoothness. Generally, you might move from 400 to 600, 800, and finish with 1,000-grit or higher, depending on your desired sheen. – Spend equal time with each grit to prevent uneven textures. Consistent, light pressure works best. – Check the surface by feeling with your fingers for any imperfections or by looking at it under a good light source. – Clean the clay between grits to avoid cross-contamination of larger particles, which could cause unwanted scratches. – Keep in mind, the smoother the surface after sanding, the better the finish after glazing or buffing.Each new grit refines the surface further, leading to the silky-smooth finish that characterizes professionally finished polymer clay pieces.
Understanding Grit Numbers and Their Effects
Grit numbers on sandpaper refer to the size of the abrasive particles on the paper. A lower grit number means larger, coarser particles, while a higher number indicates smaller, finer particles.
Here’s how different grit numbers can affect your polymer clay project:
- Lower grits (e.g., 400-600) are perfect for quickly removing fingerprints or other small blemishes from the unbaked clay. They start the smoothing process but will leave some scratches.
- Medium grits (e.g., 800-1000) help refine the surface, eliminating the scratches left by coarser paper. They are ideal for semi-finishing surfaces before adding details or textures.
- Higher grits (e.g., 2000-3000) are used for final smoothing. They create a glass-like finish on your clay after it has been baked, making it ready for glazing or buffing.
Remember, the progression from coarse to fine grit is key to achieving that perfect finish. Skipping grit levels won’t save time and will likely leave behind unwanted scratches. Always move sequentially through the grits for the best results.
Step 3: Rinse to Remove Residual Particles
After sanding your polymer clay with varying grits, tiny particles from both the clay and abrasive paper accumulate on the surface. Rinsing plays a crucial role in removing these particles. Doing so prevents them from embedding into the clay during further sanding or finishing, which could mar the smooth surface you’re working to achieve.
Use lukewarm water to gently wash the piece, as extreme temperatures can affect the clay’s texture. A soft brush can help dislodge particles from crevices. Avoid harsh chemicals or soaps, as these can react with the clay. Once thoroughly rinsed, shake off the excess water, and pat the polymer clay dry with a clean, lint-free cloth or paper towel. Ensure that all particles are washed away before progressing to ensure a flawless finish on your project.
Step 4: Dry Completely Before Proceeding
Ensure that your clay piece is thoroughly dry before moving on to further finishing steps. Any residual moisture can affect the application of sealants or paints.
To dry your piece effectively:
- Pat the surface gently with a lint-free cloth to soak up the excess water.
- Let the piece air dry completely, which could take a few hours depending on the environment.
- Avoid using heat sources like hairdryers, as they might cause the clay to warp or develop an uneven surface.
Remember, patience during the drying process pays off in the quality of your finished work.
Step 5: Glaze for a Professional Finish
After your polymer clay piece is sanded and completely dry, applying a glaze can enhance its appearance. Here’s how glazing adds the perfect finishing touch:
- Adds Shine: A glaze can give a glossy sheen to your creation, making colors pop and giving the surface a polished look.
- Protection: It acts as a protective layer, guarding against scratches and general wear and tear.
- Seals Surfaces: Especially important for items that will be handled often, glaze seals the porous surface of the clay.
- Aesthetic Versatility: You can choose between a matte or glossy glaze depending on the desired look.
- Improved Texture: A smooth glaze can make the surface feel more pleasant to touch.
To apply the glaze, use a soft brush and ensure the coat is even. Allow ample time for the glaze to dry thoroughly according to the manufacturer’s instructions. Multiple thin coats are much better than one thick coat to avoid drips and maintain a consistent finish.
When to Sand Polymer Clay: Timing and Curing Considerations
The optimal moment to sand your polymer clay piece is after it has been fully cured according to the manufacturer’s instructions. Curing, which typically involves baking the clay in an oven, hardens the material and prepares it for the sanding process. If you attempt to sand before curing, the clay may be too soft, leading to deformities and an uneven surface.
Bake your clay creation at the recommended temperature and for the appropriate amount of time to ensure it is completely hardened. This can vary depending on thickness and size, but a general guideline is to bake at 275°F (135°C) for 15 minutes per 1/4 inch (6 mm) thickness.
Allow the piece to cool down after baking before you begin sanding. Warm or hot pieces are more susceptible to scratches and might bend or warp under the pressure of sanding.
Remember, patience is crucial. Rushing into sanding without proper curing and cooling may compromise the quality of your finished product. Give your creation the time it needs to set, and you’ll be rewarded with a smoother, more professional result.
Finishing Polymer Clay With Wet/Dry Sandpaper
Wet/dry sandpaper is a versatile tool for achieving a smooth, high-quality finish on polymer clay. Its unique design allows for use with water, which minimizes dust and helps to refine surfaces more effectively.
Here are some points on how to use it:
- Begin with a lower grit to remove any prominent imperfections and gradually move to higher grits for a finer finish.
- Dip the sandpaper in water or run your project under a gentle stream. This prevents dust from forming and ensures a more even sanding action.
- Keep the sandpaper and the clay piece wet during the process, as this will also help to prolong the life of the sandpaper.
- Apply gentle, circular motions to sand the clay surface. Excessive pressure can create more scratches instead of removing them.
- After sanding with the highest grit, rinse the clay piece to remove any remaining grit particles.
Using wet/dry sandpaper is a straightforward process that contributes to an exquisite, professional appearance of your polymer clay projects.
Ensuring a Smooth Finish: Tips and Tricks
To ensure a smooth finish, patience and attention to detail are key. Here are some effective tips and tricks:
- Keep your sanding motions even: Move in one direction with gentle, consistent pressure.
- Use a sanding block: This helps distribute pressure evenly and prevents finger marks.
- Work with good lighting: This allows you to better see any imperfections as you sand.
- Dip sandpaper in water frequently: Wet sanding minimizes dust and helps achieve a finer finish.
- Check progress regularly: Run your fingers over the clay to feel for bumps and ridges.
- Support thin pieces: Back them with a firmer material to avoid breaking during sanding.
Implementing these strategies will enhance the quality of your finished polymer clay creations.
Troubleshooting Common Sanding Issues
Occasionally, you might encounter issues while sanding polymer clay that can affect the quality of your final piece. Here are some points to help you troubleshoot common problems:
- Uneven Surfaces: If you notice uneven areas, it could be due to applying different pressure while sanding. Aim for consistent strokes and even pressure throughout the process.
- Scratches: Stubborn scratches that don’t seem to go away might be from starting with too coarse a grit. Gradually work your way down from a less coarse to a finer grit, ensuring each scratch from the previous grit is eliminated before moving to the next.
- Dust Accumulation: Excess dust can lead to an unclear view of your workpiece. Regularly rinse and wipe your clay to keep the surface visible and check for any areas that may need more attention.
- Fingerprints or Smudges: If you find fingerprints or smudges after sanding, you may need to increase your initial sanding time. Use a finer grit to remove these imperfections.
- Grit Residue: Sometimes, you may find that smaller grit particles get embedded into the clay. To prevent this, ensure that you thoroughly rinse between sanding with different grits.
Remember, patience is key — don’t rush the sanding process, and take the time to assess your work frequently. With practice and care, you can achieve a professional, smooth finish on your polymer clay projects.
FAQ
Is it safe to sand polymer clay?
Yes, it is safe to sand polymer clay, especially when done through wet sanding to prevent clay dust from dispersing into the air; regular users may also consider using a respirator for extra precaution.
What sandpaper is best for polymer clay?
The best sandpaper for polymer clay depends on the clay’s pre-cured smoothness, with 400-grit suitable for already smooth surfaces, while rough or uneven surfaces benefit more from lower grits, and some crafters may choose to progress up to grits as high as 1000 or 1500 for finest finishes.
How do you smooth polymer clay after baking?
To smooth polymer clay after baking, gently rub the surface with wet/dry sandpaper, using water to control dust and prevent deep scratches.
How do you sand polymer clay shiny?
To achieve a shiny finish on polymer clay, initially dry sand it using 400- or 600-grit sandpaper to remove any large imperfections, then wipe off the resulting dust with a soft cloth.
Can you use a machine sander on polymer clay?
Yes, you can use a machine sander on polymer clay, especially after baking, to smooth and shape the surface.
What safety precautions should be taken while sanding polymer clay?
While sanding polymer clay, appropriate safety precautions include wearing personal protective equipment such as dust masks and eye protection to guard against potentially harmful dust particles.
How does the grit of sandpaper affect the finish on polymer clay?
The grit of sandpaper influences the finish on polymer clay by determining the level of smoothness; the higher the grit number, the smoother and more polished the clay surface will be.
Related Reading
 Polymer Siding: A Durable Ally for Your Home
 Protein Polymer Example: Unlocking Nature’s Building Blocks
 Polymer Lipids: Revolutionizing Building Materials
 Polymer-Gel: The Secret Sauce for Durable Buildings
 Creative Polymer Solutions for Innovative Construction
Recap